Treatment Image Gallery
Before & After Procedure Images, at Devonshire House Skin Clinic


Skin laxity / Loss of firmness on face and neck
Campbell de Morgans/Cherry Angiomas
Dermatosis Paplosa Nigra
Folliculitis
Keratosis Pilaris
Dermatofibromas
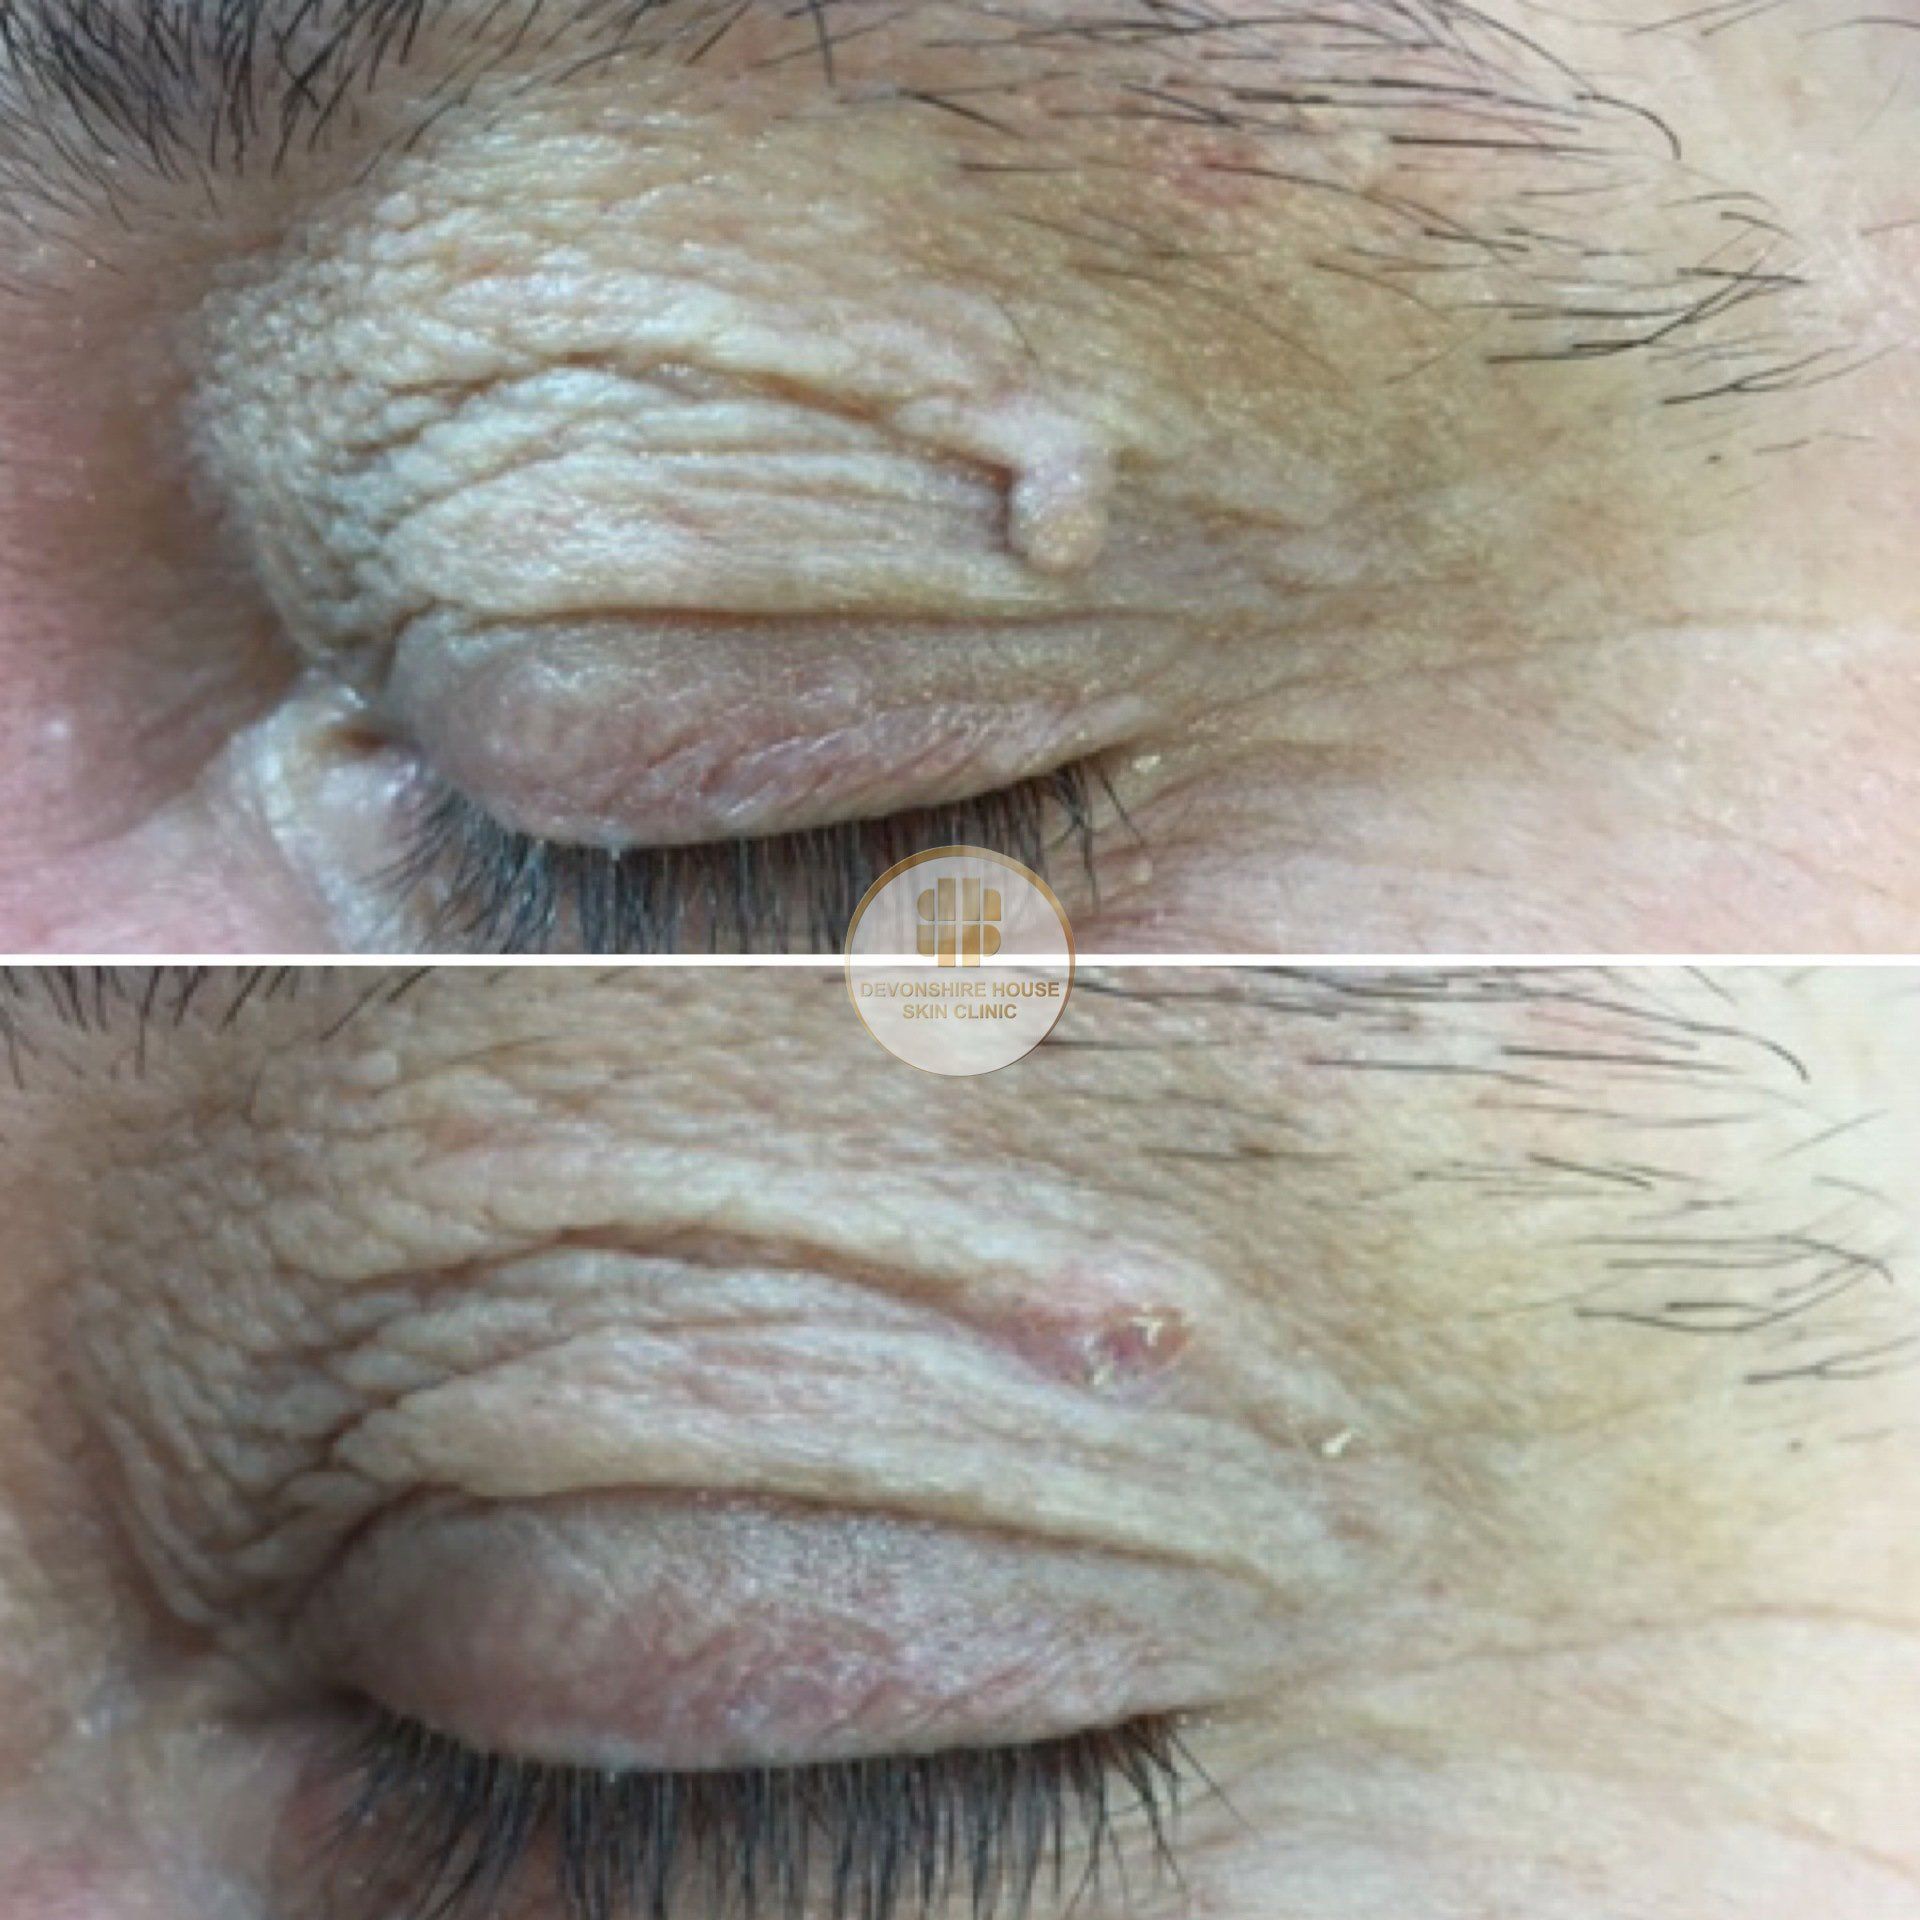
Lumps & Bumps
Note: Some blemishes require a GP's written consent prior to treatment
Images are subject to copyright.
Mole, wart and skin tag removal
Do you suffer from a common skin condition such as stretch marks or skin tags? Visit Devonshire House Skin Clinic for a free email consultation.
DISCLAIMER: THIS WEBSITE DOES NOT PROVIDE MEDICAL ADVICE AND TREATMENT RESULTS VARY FROM PERSON TO PERSON
The information, including but not limited to, text, graphics, images and other material contained on this website are for informational purposes only. The purpose of this website is to promote broad consumer understanding and knowledge of various aesthetic and skin treatments. It is not intended to be a substitute for professional medical advice, diagnosis or treatment. Always seek the advice of your physician or other qualified health care provider with any questions you may have regarding a medical condition or serious skin conditions before undertaking a new skin treatment and never disregard professional medical advice or delay in seeking it because of something you have read on this website.
Devonshire House Skin Clinic does not perform any specific medical skin tests, dermatology, medical procedures, surgery or other medical treatments and is solely aesthetic, informations mentioned on this website is for knowledge and results depend on individuals. Full procedure, consent and disclaimer is provided at consultation before treatments.
REFUND POLICY
All treatments and procedures are carried out to the highest possible standard, however sometimes outcomes do not meet patients expectations and if you are not entirely happy with your treatment or procedure with us (it's rare, but it does happen!), we emphatically welcome your feedback and comments. However, as with any minor aesthetic procedure, there is no guarantee to the outcome, and it is at the patient's own risk that these procedures are undertaken. Devonshire Skin Clinic Ltd do not offer refunds on treatments carried out.
For high-quality treatments, please contact us with an image.
Contact Us
Business Hours
- Mon - Fri
- -
- Saturday
- -
- Sunday
- Closed
*All Appointment Require a Prior Consultation.
Please email :
info@devonshirehouseskin.co.uk
01277 214879


Devonshire House Skin Clinic,
24a High St,
Brentwood,
Essex,
CM14 4AB
and
Devonshire House Skin Clinic, London
86 Harley Street,
London,
W1G 7HP